Where to download the header template for youtube
30.03.2014
Good day. Today I decided to write an article as a continuation of one big and main issue on creating a cap for the channel Youtube. I wrote articles earlier and recorded a video on this topic, you can watch, and .
And now I decided to help those who have experience in working with photoshop and who can create their own original header on their own, by the way, who does not have Photoshop. Of course, if you have difficulty creating a header for a channel in Photoshop, you can use the online services that I talked about in this article
So, I won’t torment you waiting for a long time, I’ll just show a few screenshots and after that you will see a download link, and there will also be a video instruction at the end of the article.
What is this Youtube Header Template?
Template - PSD source, i.e. photoshop source. In other words, this is the layout of the new Youtube interface for 2013-2014. Attention to the screen
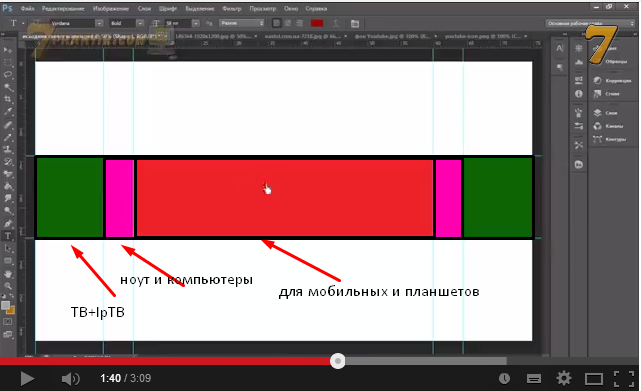

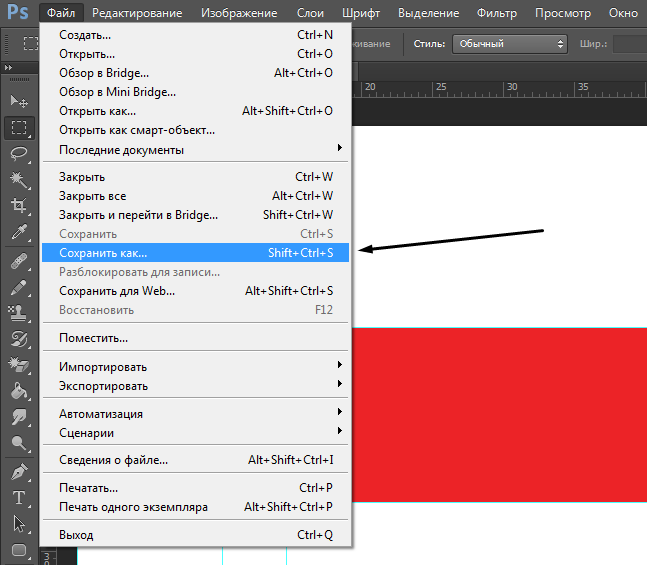
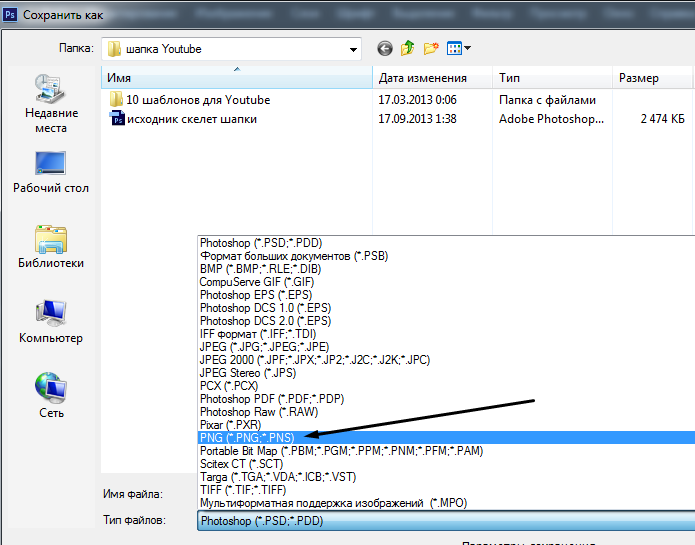
It can be seen from the screen that in this template the markup is taken into account for 3 devices. Each color, as it were, suggests the boundaries of the visible area, i.e. you can go beyond its borders, but remember that pictures or text (layers in photoshops) must start from the border and end up to the borders, thus readability and originality will be respected. In general, experiment, but here's another tip, when you make a hat, do not forget to save it in .png format no more than 2 mb. and, if necessary, crop the header on your youtube channel. Now I'll show you in the screenshots in order.
How to upload header on youtube
After you have saved your template, you need to upload it to your youtube channel, how to do it? Attention to screenshots
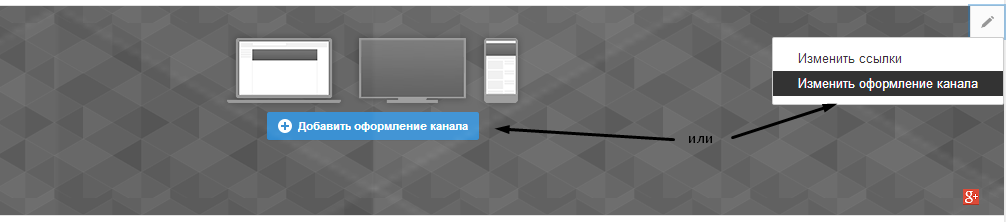
Step 1. Go to your channel and click add channel design or click the pencil in the upper right corner and select *change channel design*
Step 2 Download the header from your computer

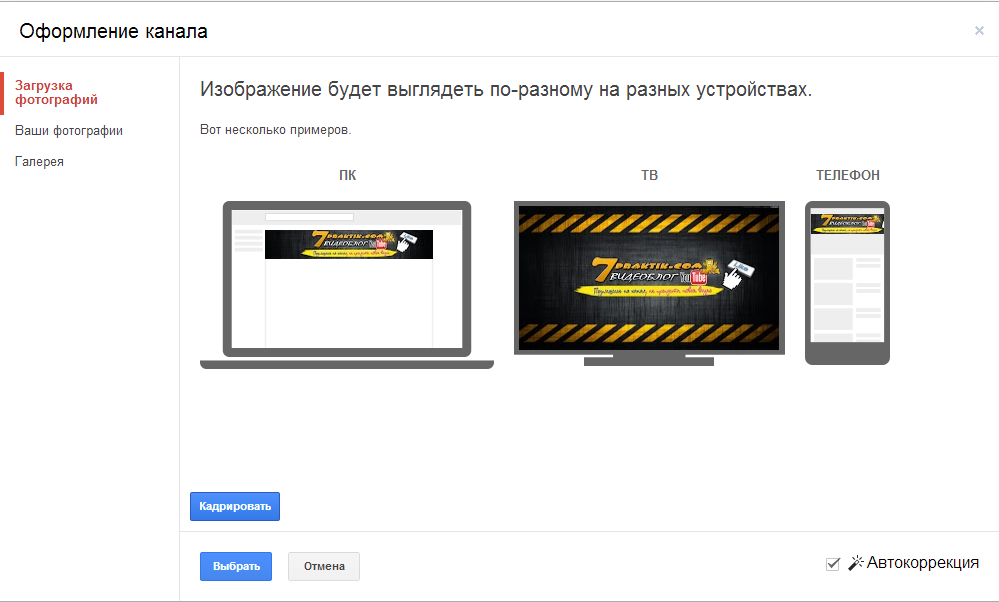
Step 3 Crop the header or upload. I wrote above that, if necessary, you need to crop your youtube header so that it is evenly positioned as it should. To do this, click the crop button. Of course, it is possible that you don’t have to change anything, so for the first time press the *SELECT* button immediately
But if you already had to crop the hat, then how to do it? Attention to the screen.
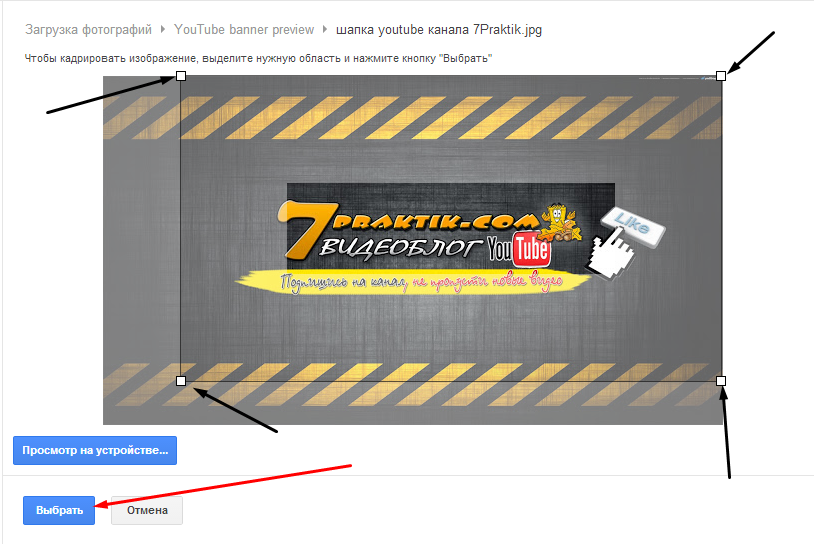
As you can see with the arrows, I showed the places where we stretch or shrink the size with the left mouse button, thereby shifting the visible area in the direction we need. In general, experiment, if something does not work out, write in the comments, we will analyze ...
So you should end up like this