How to turn on a USB drive on Android 5.1. How to enable a USB drive on Android - turn a regular smartphone into a mobile data storage
Sometimes it becomes necessary to disable USB ports on a computer or laptop in order to limit access by connecting flash drives, hard drives and other USB devices. Disabling USB ports will help prevent the connection of any drives that could be used for theft important information or cause your computer to become infected with a virus and spread harmful software over local network.
Restricting access to USB ports
Let's consider 7 ways, with which you can block USB ports:
- Disabling USB through BIOS settings
- Changing registry settings for USB devices
- Disabling USB ports in Device Manager
- Uninstalling USB controller drivers
- Usage Microsoft Fix It 50061
- Using additional programs
- Physical disabling USB ports
1. Disabling USB ports through BIOS settings
- Enter BIOS settings.
- Disable all items related to the USB controller (for example, USB Controller or Legacy USB Support).
- After you have made these changes, you need to save the settings and exit the BIOS. This is usually done using the key F10.
- Restart your computer and make sure the USB ports are disabled.
2. Enable and Disable USB Drives Using Registry Editor
If disabling via BIOS does not suit you, you can block access directly in the Windows OS itself using the registry.
The instructions below allow you to block access to various USB drives (for example flash drives), but other devices such as keyboards, mice, printers, scanners will still work.
- Open the Start menu -> Run, enter the command " regedit" and click OK to open the Registry Editor.
- Continue to next section
HKEY_LOCAL_MACHINE\SYSTEM\CurrentControlSet\Services\USBSTOR
- On the right side of the window, find the item “ Start” and double-click on it to edit. Enter value " 4 » to block access to USB storage devices. Accordingly, if you enter the value again “ 3 ", access will be reopened.

Click OK, close Registry Editor, and restart your computer.
The above method only works when installed driver USB controller. If a driver has not been installed for security reasons, the Start setting may be automatically reset to 3 when the user connects the USB drive and Windows installs the driver.
3. Disable USB ports in Device Manager
- Click right click mouse on the " Computer» and select in context menu"Properties" item. A window will open on the left side of which you need to click on the link “ device Manager».
- In the device manager tree, find the item " USB controllers" and open it.
- Disable controllers by right-clicking and selecting the "Disable" menu item.

This method doesn't always work. In the example shown in the figure above, disabling the controllers (the first 2 points) did not lead to the desired result. Disabling the 3rd option (USB Mass Storage Device) worked, but this only allows you to disable a single instance of the USB storage device.
4. Removing USB controller drivers
Alternatively, to disable ports, you can simply uninstall USB driver controller. But the disadvantage of this method is that when the user connects a USB drive, Windows will check for drivers and, if they are missing, will offer to install the driver. This in turn will allow access to the USB device.
5. Prevent users from connecting USB storage devices using a Microsoft application
Another way to deny access to USB drives is to use Microsoft Fix It 50061(http://support.microsoft.com/kb/823732/ru - the link may open near the mituta). The essence of this method is that 2 conditions for solving the problem are considered:
- The USB drive has not yet been installed on the computer
- The USB device is already connected to the computer
Within the scope of this article, we will not consider this method in detail, especially since you can study it in detail on the Microsoft website using the link given above.
It should also be taken into account that this method Not suitable for all versions of Windows OS.
6. Using programs to disable/enable access to USB storage devices
There are many programs for setting a ban on access to USB ports. Let's consider one of them - the program USB Drive Disabler.

The program has a simple set of settings that allow you to deny/allow access to certain drives. USB Drive Disabler also allows you to configure alerts and access levels.
7. Disconnecting USB from the motherboard
Although physically disconnecting USB ports on motherboard is an almost impossible task, you can disable the ports located on the front or top of the computer case by disconnecting the cable going to the motherboard. This method will not completely block access to USB ports, but will reduce the likelihood of using drives by inexperienced users and those who are simply too lazy to connect devices to the back of the system unit.
! Addition
Denying access to removable media through the Group Policy Editor
In modern Windows versions It is possible to restrict access to removable storage devices (including USB drives) using the Local Group Policy Editor.
- Run gpedit.msc through the Run window (Win + R).
- Go to the next branch " Computer Configuration -> Administrative Templates -> System -> Access to Removable Storage Devices»
- On the right side of the screen, find the item " Removable drives: Deny reading."
- Activate this option ("Enable" position).

This section of Local Group Policy allows you to configure read, write, and execute access for different classes of removable media.
Few consumers know that a mobile device running on the Android operating system, unlike other portable devices, can be used as a flash drive. IN Lenovo smartphones On Android, manufacturers initially included functions that allow them to be used as a flash drive and used for their intended purpose. Thanks to this, the user can record necessary information, delete files from the device that are not used, but at the same time take up a lot of space on it.
Using an Android phone as a flash drive, there is no need to connect it to a computer, constantly carry with you the cable needed to connect to a laptop, that is, to perform a lot of manipulations that waste a lot of time.
Methods for connecting a mobile device as a flash drive
Let's look at how to connect your phone as a flash drive. To do this, you need to do a number of simple sequential actions:
- Select “Menu” on your device and find “Settings”.
- Immediately after this, a list will appear on the screen; you should find the line “SD Card” in it. Depending on the Android version, it can be found through applications or memory .

- In order for the smartphone to recognize the PC as a flash drive, you need to check the box next to the line labeled “Data storage device” in the displayed list. Or click on “Connect SD card”.
- As soon as the smartphone is connected to the computer, an icon will appear in the device’s status bar, which indicates that the USB flash drive is in working condition.
If you lower the curtain in the menu, the phone connection via USB port as a flash drive. If you need to turn off the drive, you must also lower the curtain and click on the corresponding inscription.
Options for connecting a phone with different versions of Android
Let's look at how to connect your phone as a flash drive, depending on Android versions, which is installed on the device. First, you should find out what operating system is installed on your smartphone. To do this, go to “Settings” and find the “About phone” or “About device” item. Usually it is the last one in the list that opens.

If Android OS 2.1 - 2.3.7 take the following steps:
- The device connects to the PC using a USB cable;
- The computer itself should detect the new device. If this does not happen, you need to disconnect the smartphone from the PC, go to “Settings” → “Applications” → “For Developer” → “USB Debugging”. After that, connect to the PC again.
- A drive icon will appear on the device; all you have to do is click “Connect via USB”, which you need to do as a media device.
If your phone has an Android operating system with version 4 or higher, you need to connect to a PC, do the following: “Menu” → “Settings” → “Memory” → “Connect to SD card” .
Android does not see the memory card
Situations arise in which the flash drive is not detected in the smartphone. In order to find it, it is recommended to use a file manager - ES Explorer or its equivalent. With the help of such programs you can find almost everything. In their functions they resemble the My Computer program.

In order to recognize a memory card, you need to launch ES Explorer by downloading it to your device prematurely. After launch, a menu will appear on the left side of the screen in which the memory card (SDcard) is located. All you have to do is click on it. It has been discovered and is open for business.
Having done simple steps Anyone, even a novice user of a mobile device, will be able to detect a memory card in it. The reasons why the computer does not see the SDcard may be different. Might need to update operating system on a PC or install the MediaTransferProtocol (MTP) protocol for Windows XP
(No ratings yet)
Lenovo laptop does not turn on: possible reasons How to install Root rights on Lenovo p780 Why the phone does not see the computer via USB: reasons and solutions How to connect wired Internet To lenovo laptop: options How to add google account on the phone: instructions
Every day, owners of smartphones and tablets on Android based there are thousands of users. Some of them may experience certain problems when working with the device. For example, the user decided to connect the smartphone to the computer via a USB cable. He connects the device and... And nothing happens. Wherein necessary drivers installed, the device is accurately connected, but is not reflected at all on the computer. The traditional question is what to do?
Ideally, the user should see something like this, where the device is connected as a data storage device:

In this case, it will be recognized and you will see the contents of your device on your computer. Also, if you click on connection mode, you will see extra menu connection methods:

On the computer, in turn, an autorun window for the device will appear:

What to do if the computer does not see the device?
Alas, there is no single advice, but we will try to understand the situation and consider possible options solving the problem.
The very first thing you should do is reboot your device. The author of these lines periodically has this problem and it is solved by rebooting the device. Most likely, there is some glitch in the system. If there is a more recent firmware for your device, be sure to update it, it may help.

The next step is to carefully inspect the USB cable. It is possible that it is damaged. If possible, try connecting the device with a different USB cable. If it works, then that's where the problem lies.
Connect the device to a different USB port. Some of them may not work or work incorrectly.
If you see its connection mode on the device, click on this item and try to select a different type of connection, for example, not a media device, as in our case, but a USB drive. This can help.

Without disconnecting the device from the computer, try disabling and enabling USB debugging several times in a row. If this works, you will hear a characteristic sound in the speakers, and an autorun window will appear on the computer screen. Try also simply disabling USB debugging.

You should pay special attention to drivers, since for some devices you will have to install them yourself. In some cases, you have to install drivers from completely different devices - more details about drivers for specific device you can find out on thematic forums.
If all else fails, try connecting the device to another computer. If another computer sees it, then the problem is with your computer and possibly with the drivers. If the other computer does not see the device, then the problem is either the cable, the device itself, or the USB port. And be sure to update the firmware version, if possible.
If you have any questions, you can ask them using the comments.
Turn on USB ports on a laptop you can through the BIOS, device manager, registry editor or editor group policies. If access to USB connectors was prohibited intentionally using special software, you can unblock it in a program where the interface is blocked. All methods are available ordinary users and do not require special training.
Disabling unnecessary devices
If the USB ports suddenly stopped working and you are now looking for how to turn them on, then the first thing to do is look to see if the device is connected to the laptop too much. When using a USB hub, the laptop may not be able to supply power to all devices, causing the USB ports to become unresponsive. Before you do USB setup in the BIOS, disconnect unnecessary equipment from the laptop and check if the ports work. If nothing has changed, then reboot the laptop and go into the BIOS.
Enabling ports in BIOS
For BIOS input When loading, press Delete, F2 or another key depending on the model motherboard. You can view it on the start screen. 
In the case of a laptop, this screen does not appear because the function fast loading. You can temporarily disable this technology in the power settings:

Restart your computer. Without quick launch you will see all the stages Windows boot and you can get into the BIOS. If this doesn't work on Windows 8 or 10 with UEFI BIOS, try the following method:

After reboot, select "Diagnostics", then go to " Extra options" and open the UEFI Firmware Settings. Click "Reboot", the next time you start, the BIOS UEFI interface will appear.
To configure USB ports in UEFI, you need to go to the “Peripherals” tab and set the “Legacy USB Support” parameter to “Enabled”. If support for USB 3.0 ports is required, activate the corresponding item (USB 3.0 Support). 
In the AMI BIOS, go to the “Integrated Peripherals” section and set the four options to “Enabled”:
- USB EHCI Controller.
- USB Mouse Support.
- USB Keyboard Support.
- Legacy USB Storage Detect.
In Phoenix AwardBIOS, you need to go to the “Advanced” tab and go to the “USB configuration” section. All parameters inside must be set to “Enabled” in order for USB ports worked. 
In all BIOS versions To save the configuration, you must press the F10 key and confirm your selection by writing “Y”.
Windows setup
If in BIOS ports are enabled, but devices connected via the USB interface are not detected by the system, then check the registry editor, device manager and group policy editor. It is possible that changes were made to the system through them, due to which the ports are no longer working. You should start with the Registry Editor.

If the registry editor supports USB interface is enabled, then check the controller drivers in Device Manager.

If you see an icon next to the controller that looks like exclamation point, and you are sure that the interface is supported in the registry editor, then this means that there are problems with the drivers. First try updating the software:

If updating the controller software does not help, update the motherboard driver. Download it from the manufacturer's website and install it manually. Another way to update the drivers of all controllers at once is to remove them from the system. Right-click on the controllers and select "Delete". After a reboot, the system will automatically install controller drivers, so you no longer have to worry about how to enable the USB ports - they will work just like that. 
If only those connected via USB removable devices, then check in the Group Policy Editor to see if the read ban is set.

Find the option " Removable devices: Deny Reading" and set it to "Disable". Problem identifying flash drives and external drives must disappear.
Hardware damage to ports
If your laptop's USB ports are damaged or south bridge on the motherboard, then no methods will help enable the interface. Therefore, if the connectors stop working after mechanical impact, liquid getting inside the housing, short circuit or other negative factors, you should take the laptop to a service center for diagnostics.
It's easy to connect a flash drive to your smartphone. To do this, you just need support for a special protocol and several programs.
Definition of OTG support
Read also: TOP 12 Best USB flash drives for all occasions: for music, movies and backup data storage
To connect an external drive to mobile device First of all, you need to make sure that your smartphone supports OTG (On-The-Go) technology, which allows you to apply for external device power supply via USB port.
It is worth noting, this function implemented only in Android systems starting from version 3.1.
In order to make sure whether your mobile device supports the OTG function or not, you can use small program, which is called USB OTG Checker.

After the program tests your smartphone, it will display one of two messages.
First- in case of a positive result, implying that the device supports OTG technology.
In this case, you will see the following message on the monitor screen:

If your mobile device does not support the OTG function, you will see the following information window:

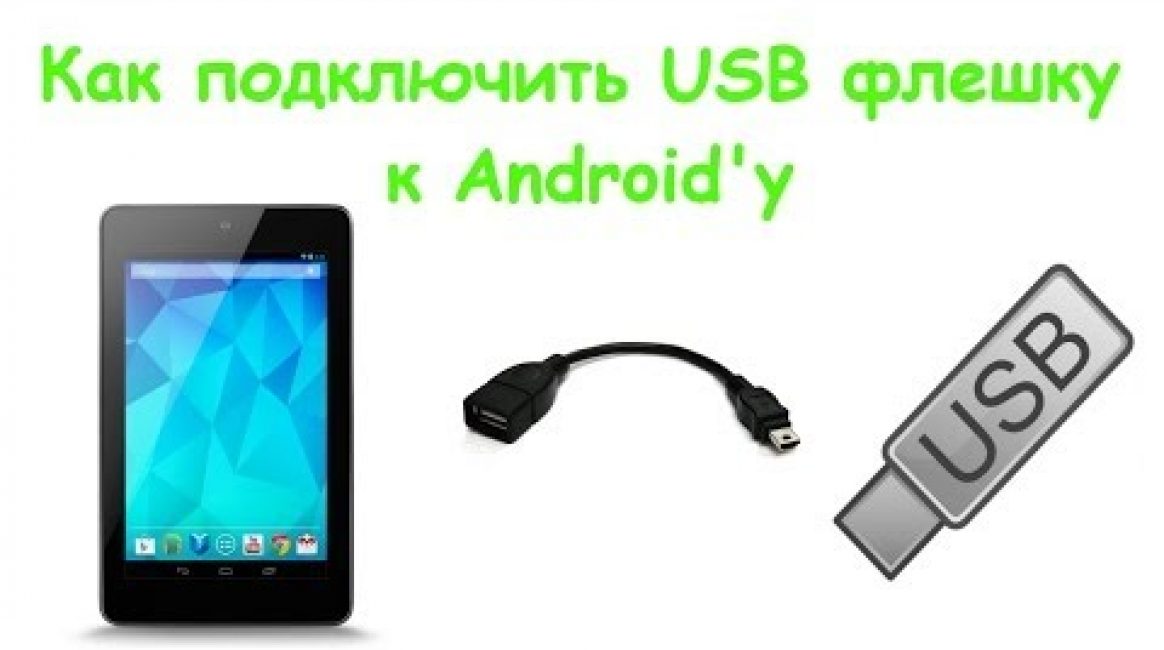
In version with positive result You need to purchase a special adapter from a retail chain that allows you to connect an external drive (flash drive) to the Micro USB socket of your mobile device.
Some manufacturers took care of this in advance and equipped their smartphones with a proprietary OTG cable.
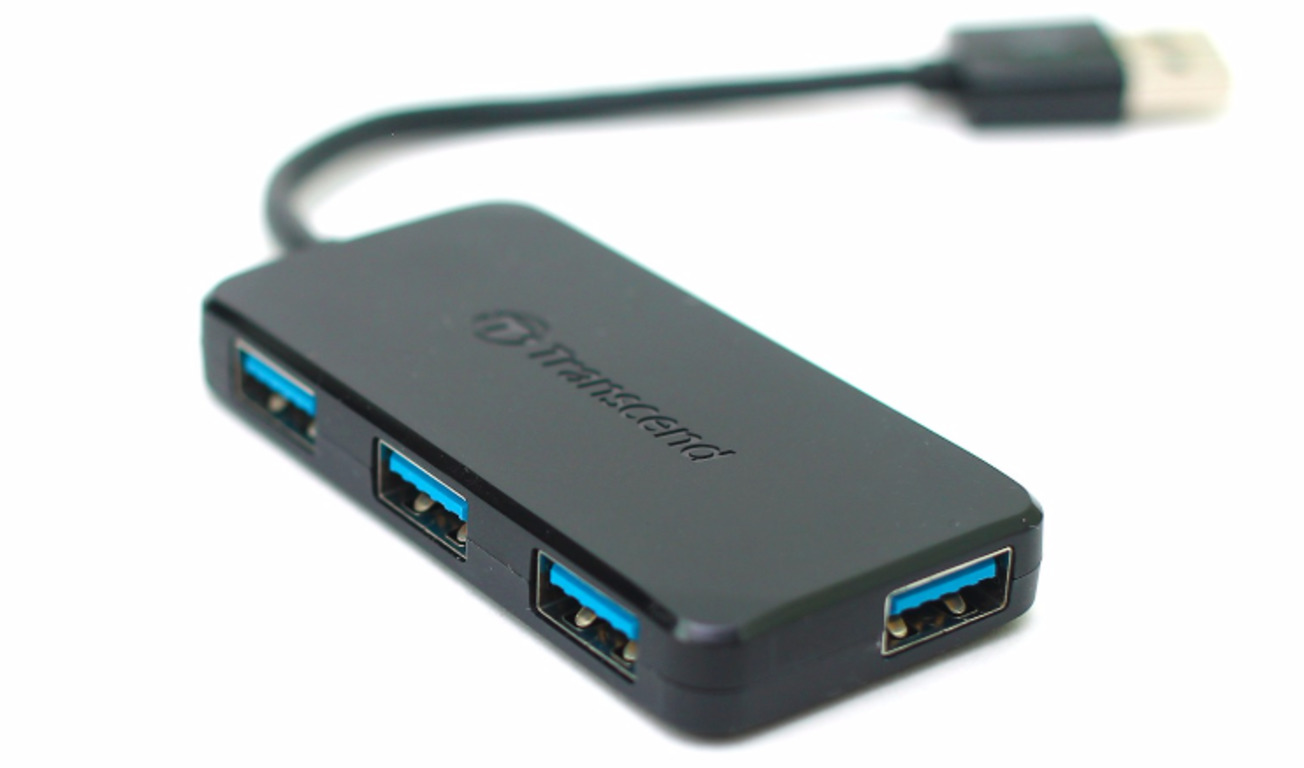
If you want to connect several at once external drives or other devices to your smartphone - you will have to use a USB HUB.
Currently, it is quite possible to find a flash drive on sale that has both USB and Micro USB plug. It is quite convenient, as it allows you to avoid using an OTG cable.

Connecting a flash drive in OTG mode
Read also: TOP 12 Best memory cards for smartphones, cameras and DVRs | Review of popular models + Reviews
It’s impossible not to talk about such a useful technology as connecting a flash drive to OTG mode. Among its advantages is the fact that it is supported by most devices.
So the user does not have to suffer for a long time trying to connect an external flash drive to the gadget.
With one small cable, you can easily synchronize your existing devices for fast transfer data.
Such an adapter is inexpensive, so anyone can easily purchase it and try it. Here are two ways to check for OTG mode:
- Check out technical characteristics specified by the manufacturer.
- Having purchased suitable device, check its performance in practice.
If the gadget is not able to see the flash drive, we can say that the manufacturer, for his own reasons, deprived the device of such an ability.
VIDEO: How to connect a flash drive (disk) to NTFS via OTG on Android
How to connect a flash drive (disk) to NTFS via OTG on Android
Connecting a flash drive to a smartphone: Four ways (plus bonus)
Connecting a flash drive using USB
Read also:SIM card and memory card - How to install in one slot?
For many modern devices running Android OS, there is a standard micro-USB connector. So connecting a flash drive to a smartphone is very simple.
The flash drive will work on the device if On-The-Go technology is loaded. Manufacturers have been introducing a similar function into the gadget since the latest version.
Usually installed in modern mobile devices micro USB connector, so the user cannot do without USB cable and an adapter for a flash drive.
Most manufacturers include adapters for flash drives. If you don't have it, you'll have to purchase it from a digital store.
If you cannot find a micro connector on the device, then most likely you will need to purchase not only a cable, but also a special adapter.
Of course, this will be quite inconvenient, since for a successful connection additional device you will have to use several cables. However, this is the only option for connecting a USB flash drive in this case.
It is also worth mentioning the opening of an additional device. You can cope with this task by downloading one of the file managers.
Often it is already installed by the manufacturer along with a certain set of programs. If file manager missing, you will have to install it.
Concerning Android smartphones- the most common are Total Commander and FX File Explorer. The user can choose the application he likes.
Connecting a USB flash drive to an Android device using StickMount
Read also:Formatting MicroSD, write protection and how to remove it - All methods
If the user has access to a mobile device, then he can automatically install a flash drive with access to it from any file manager.
For this you can use free application StickMount(if you wish, you can use a paid Pro version, which is also available on Google Play).
DownloadAfter connecting the gadget, open StickMount and give this application superuser rights.

After these steps, the user will have access to the files downloaded to the flash drive, which will be located in the corresponding folder in the file manager.
Support for a variety of file systems is affected by the device and its firmware. Most often this is fat or etxt2.
Various file systems from Linux are often used. Be sure to take this into account when connecting a flash drive.
You don't need them to work with them. root rights on the device. It's just that downloading them is paid. Further, they will be discussed in more detail.
USB Media Explorer
Read also:How to remove write protection from a USB flash drive - Solving basic problems
Among the main features of USB Media Explorer(formerly Nexus Media Importer) it is worth highlighting the fact that free memory for user information is limited.
But it is capable of quickly streaming the contents of any flash drives that are connected to a USB cable to the device used in the form of conductors.
Please note that this may cause possible problems in the process of applying the add-on on Android 3.x.
For this device to work correctly, you need the following:
- Gadget controlled Android system O. Corrupted lists of similar devices include Google Nexus 5 and Moto X. It also consists of Galaxy Nexus and Motorola Xoom. Try the free Nexus Motorolla Xoom first if your device is not on this list and is not supported due to hardware limitations.
- You can't do without a USB cable, which costs about $10.
- You will also need a card reader with a built-in memory card. Before connecting external hard disk or other device, be sure to go to the official website and read the instructions.
Before using NMI without an Internet connection, activate the license.
To do this when the Internet is connected, you just need to launch the installed application.

Read also:How to connect a modem to a tablet on Android (Android) The easiest ways in 2018
Using the Nexus USB OTG app File Manager you can easily copy files to a storage device that has file system FAT 32. To do this you need to use a USB port.
As a result, the user will have the opportunity to work with documents, not only in internal memory, but also on a USB gadget.
He will be able to edit names various files, and also add and remove necessary folders.
Similar application developed by the creators of Nexus products equipped with an On-The-Go port. As an example, we can cite Nexus 5 and 7.
However, this program can work with any other devices, including different versions Android.
This add-on also has a large number of new opportunities. Yes, it can open necessary files directly from USB and does not transmit data to the Internet.
Thanks to Advanced More, the user has access to all documents from his device.
Advanced users will certainly appreciate this feature. Such an application is the property of Google.
Also, using this application, the user can easily download various modern games for Android. They can be downloaded from websites that specialize in games.
Working with this program is a real pleasure and satisfies the user's needs.
