How to learn to draw on a computer. Artweaver is a free alternative to Photoshop
9 895 look.
Professional illustrators and designers use a graphics tablet to draw. It allows you to imitate the same hand movements that the artist makes when drawing on regular sheet paper. Which gives him more options. In addition, drawing on a tablet is much more convenient than using a mouse. However, if you wish, you can also use the mouse.
You will need: good quality mouse
Instructions on how to learn to draw with a mouse on a computer
1. If you have this moment there is no way to purchase a tablet, or you are not yet sure if you will need it at all, try to draw mouse. Just open any graphic editor (bitmap like Photoshop or vector like CorelDraw and Adobe Illustrator), find a drawing lesson for beginners and start doing it. Create mouse quite a decent drawing is very possible. Another thing is that it will take a lot of time and will require effort. However, some manage mouse And they are not going to buy a tablet. It happens that a person gets so used to drawing with a mouse that it is difficult for him to switch to a tablet later.
2. One of the problems with drawing with a mouse is that the lines are difficult to make smooth and even, they can go astray and turn into zigzags. To some extent, this can be compensated by multiplying the scale of the document, so it is more convenient to draw details. From time to time you can zoom out and evaluate the result. Instead of trying to draw a long line, it is better to use more individual strokes and strokes. If you need a straight line, use the appropriate tool in the editor to set the desired thickness and color.
3. drawing simple images like a snowman or a Christmas tree, take as a basis geometric shapes - circles, triangles, etc., and then fill them with color, add chiaroscuro and details. To evenly paint over an area, first select it, and then paint over - this way you will not be able to go beyond the area, and the drawing will be neat.
4. There is another way. Sketch the outlines of the drawing on a regular sheet of paper with a pencil, take a picture or scan it, open the picture in a graphics editor and draw the outlines there and color it. In Photoshop, it is convenient to use layers so that traces of a pencil drawing do not remain in the final image.
Video. Learn to draw with a mouse!
Video. How to draw in SAI with a mouse
If you find an error, please highlight a piece of text and click Ctrl+Enter.
To paint a picture, it is not necessary to enroll in art courses and buy and buy expensive supplies. Just turn on the computer and run the appropriate software. In this article, we will look at best programs to create digital paintings.
To paint on a computer, you need to select a brush and move it around the virtual canvas using the mouse, keyboard, or special devices, like graphics tablets.
The tool can be a pen, pencil or an art brush with paints. With a long press, the thickness of the lines changes, mixing colors is allowed.
There are special panels for working with the palette. Various effects can be applied to finished objects.
pros digital drawing include items such as:
- Cancellation of unsuccessful actions;
- Unlimited color range;
Let's start the top 15 drawing applications on a personal computer with free programs.
You can use all their functionality completely free of charge for an unlimited amount of time.
Tux paint

Educational program Tux paint was created for the youngest users. personal computer, but it can also appeal to adult novice artists. It has a relatively small set of tools and does not have a lot of palettes.
The highlight of this application is its simplicity, large buttons in the interface, the presence basic models, a large number of stamps, an integrated assistant in the form of a funny penguin Tuxie.
All this greatly facilitates the process of creating works.
By the way, it is possible to make a slide show. The program was developed specifically for children from 3 to 12 years old and is even used in a number of preschools in Europe.
Attractive and bright interface with funny sound effects offers easy-to-understand large buttons with tools and colors, and Tooks the penguin will show you how to draw correctly.
Tux Paint will help your child develop creativity and teach him the basics of computer literacy.
Among the shortcomings of tux paint, we highlight the lengthy processing of applied effects.
paint net
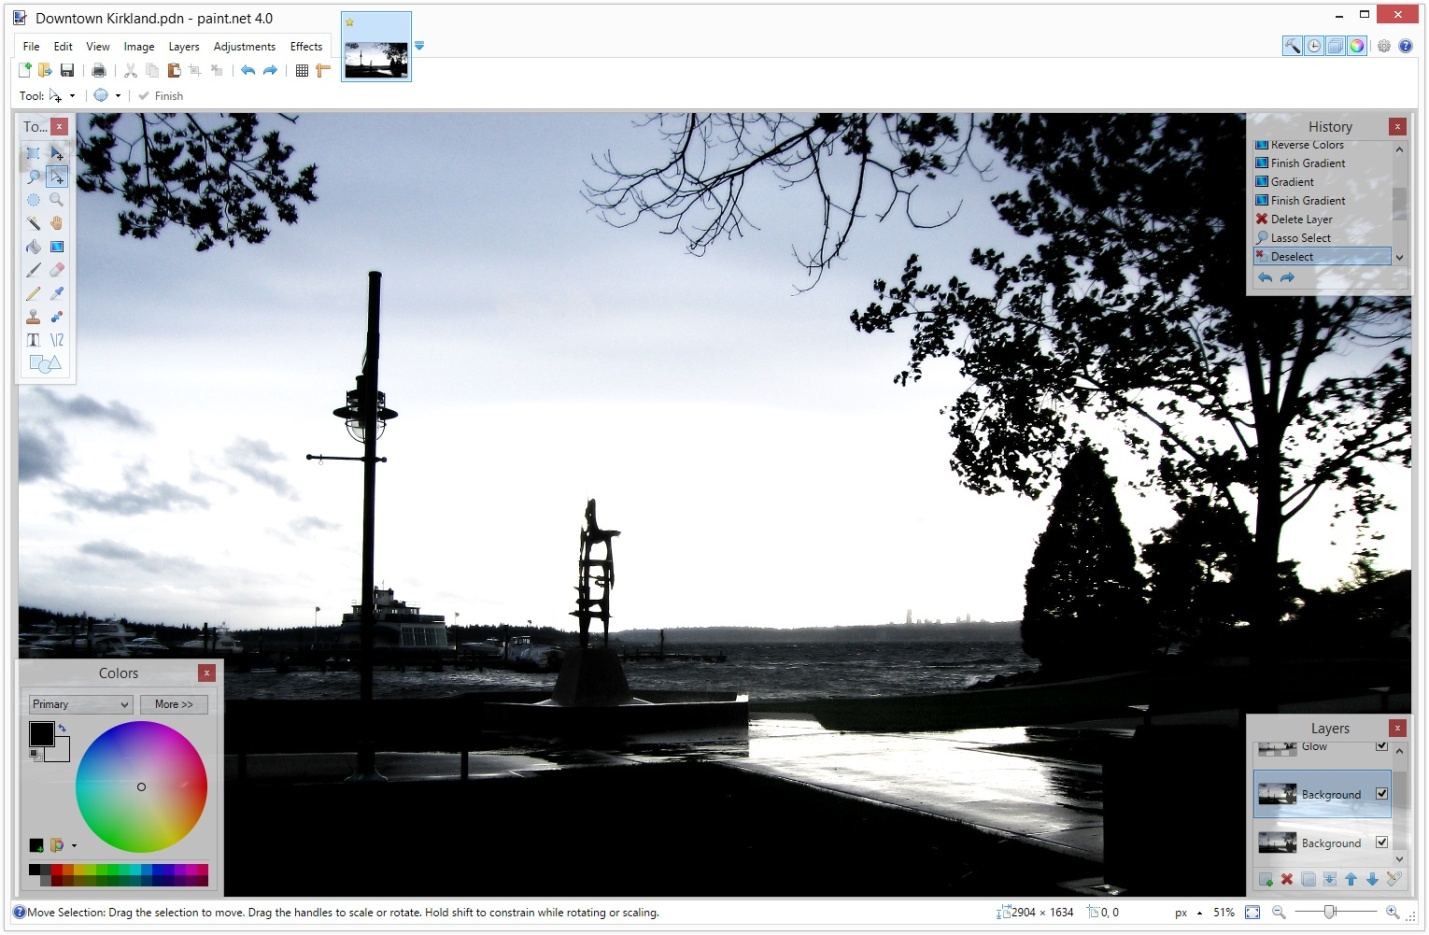
At first glance it might seem that this program no different from standard application called Paint, bundled with the Windows operating system.
This is part of the point of paint.net. The interface is familiar to all users of the Windows operating system.
But the functionality of the paint.net application stands out significantly from the background of the integrated editor.
In it, you can create three-dimensional models, draw transparent objects, moving objects and other complex structures. Note very handy tool selection.
In paint.net it is invoked by the magic wand.
The program contains a number of integrated tools, and also supports plugins, among which you can find a large number of useful tools.
Inscape

Inscape is a popular vector editor. It is often used for drawing graphics systems, as well as to create business cards, booklets and other promotional products.
Using this application, it is very convenient to draw geometric shapes and objects, which are based on several small particles of the correct shape.
Available special block to work with text and footnotes.
This program is primarily based on its own rendering engine, which means that with the proper performance of a personal computer, the process of applying new strokes will be carried out at lightning speed.
SmoothDraw

A program called SmoothDraw is more versatile than the previous editor. Here exist different types pencils, as well as comfortable pen, sprayers, markers.
With this whole set, you will add personality to your painting.
This program contains a convenient layering algorithm, including an integrated collection of elios effects. Pixel technology allows you to create high quality drawings.
AT this case the principle of choosing the type of brush is very conveniently implemented, that is, depending on pressing a number on the keyboard, the corresponding drawing tool is selected.
It should be noted that the application is compatible with graphic tablets. The disadvantage of this utility is a poor localized interface.
artweaver

A program called Artweaver is a good one. bitmap editor With big set custom brushes.
The app stands out for having impasto, which is a unique painting tool that mimics relief paint. A similar feature allows you to create oil masks on canvas.
With time this application has acquired enough features to be considered a full-fledged drawing software.
- Editable hard and soft brushes;
- layer-by-layer processing; Smoothing functions;
- Built-in effects;
- A large number of tools that allow you to change the size and other characteristics of an element;
- And so on.
Thus, we have a fairly good editor for creating high-quality works.
Application for drawing on Computer Paint Tool Sai
A program called Paint Tool Sai was created by Japanese developers.
This application is in recent times gained popularity among users living in the territory of the Russian Federation. The program has two drawing modes:
- The first of which is bitmap;
- The second is a vector.
It is worth noting that each of the brushes belongs to different regime. The application boasts a high-tech rendering engine, full support for graphics tablets, and its own pen smoothing algorithm.
As in most other solutions, the application interface resembles a menu from Adobe Photoshop.
However, the developers of this application went even further. Thus, hotkeys are exactly the same as Adobe Photoshop.
This editor can be installed on any operating system Windows system, including Windows ninety-eight.
Unfortunately, the application is not adapted for Russian Federation and the CIS as a whole, the menu is only available in English.
It must be understood that the program is paid, but there is time to use it in the trial period of one calendar month.
The application is available for purchase forever for seventy-seven United States dollars.
Affinity Designer

Another paid product called Affinity Designer is notable for having three modes of operation:
- Painting;
- Pixel editing;
- Export.
Each of the modes has interesting name- A person. It is logical that Affinity Designer can work with raster and vector graphics.
The program is based on a fairly fast engine. Its interface also features photoshop similar design, although correct application will compare with Adobe Illustrator than with Photoshop.
The set of brushes is standard. It is possible to create your own drawing tools.
An interesting fact is that initially the developments produced this application for an operating system called Mac OS. And only very recently the program appeared on the Windows operating system.
The program is paid, but there is trial period which is ten calendar days. The cost of the license is fifty United States dollars.
It should be noted that the developers of Affinity Designer did not take care of the Russification of the menu and the availability of such an important option as plugin support.
Drawing on a computer is a very exciting and interesting activity. In order to immerse yourself in the process as much as possible and not be distracted by various trifles, it is best to use a graphics tablet. If there is no such gadget, but you want to draw, then you can get by with a mouse. This tool has its own characteristics that interfere with the quality of your work. We will talk about how to use the mouse for drawing in this article.
As we have said, the mouse has some features. For example, with its help it is almost impossible to draw a smooth line if it is not an arbitrary stroke, but a contour drawing. This is what makes our job difficult. There is only one thing left: to use some tools graphic programs. We will consider different options using the example of the most popular drawing software. However, most of the techniques can be transferred to other programs.
Actually, we will be engaged in a little deception, since in its pure form “drawing” it can only be called with some stretch.
Shapes and selections
These tools will help you draw the correct geometric shapes, such as the character's eyes, various spots and highlights. There is one trick that allows you to deform the created ellipse without resorting to transform tools. You can read about the figures in the article below.

The selection tools also help to create correct geometric objects.

lines
Using Photoshop, you can create lines of any configuration, both straight and curved. In this case, we will use the mouse quite a bit.
Outline stroke
Since we cannot draw a smooth contour line manually, we can use the tool "Feather" to create a foundation.
By using "Pera" we can already simulate real brush pressure, which on the canvas will look like a stroke made on a tablet.
- First, let's set up the brush. Choose this instrument and press the key F5.

- Here we check the box next to the property "Form Dynamics" and click on this item, opening the settings in the right block. Under parameter "Size Fluctuation" select from the dropdown list "Pen pressure".

- Click on an item "Brushprint Shape" in the header of the list. Here we set the required size.

- Now we take "Feather" and create an outline. Click PKM and select the item indicated in the screenshot.

- In the dialog box that opens, check the box next to "Imitate pressure" and choose "Brush". Click OK.

- As you can see, the stroke is very similar to hand drawing.

Training
In order to increase your level of mouse control as a drawing tool, you can use ready-made outlines. They can be downloaded from the Internet by typing in search engine corresponding request. Another option is to draw the outline on paper, then scan it and upload it to Photoshop. Thus, by tracing the finished lines with the mouse, you can learn more even and precise movements.

Conclusion
As you can see, there are tricks to smooth out Negative influence mouse on the drawing process. It should be understood that this is only a temporary measure. If serious work is planned, then you still have to purchase a tablet.
Earlier I wrote that different actions on a computer are performed using the programs corresponding to them. So you already know that the writing of the text is carried out in the program - text editor, the simplest of which is called Notepad. On a computer, you can even draw using a program - a graphic editor. The text document named is text file. Like this graphic document, for example, a photograph, drawing or blueprint is a graphic file.
Work with this type of documents is carried out in graphics editor.
Graphic editors, just like text editors, are different. One of the famous programs is a graphic editor photoshop with great potential. This program is paid, again, far from cheap, sometimes it can be installed on a computer when buying it and, of course, included in the price. There are other free graphic editors that are not inferior in capabilities to the Photoshop editor.
The most simple program- a graphic editor that comes with the Windows operating system and installed on your computer is called Paint. For all its simplicity graphic editor Paint can do a lot of useful, interesting and beautiful things. Having mastered this editor, later you can easily use other more "cool" graphic editors.
Using a graphic editor Paint you can view photos, copy them, cut out part of the photo, put an inscription and also create your own multi-colored picture or a picture (if you have artistic abilities), arrange a personal greeting card, draw a plan for a garden plot, etc.
Hover over the "Start" button in the lower left corner of the monitor screen, move the cursor up to the inscription "All Programs", the inscription will be highlighted in blue.
A column with a list of programs will appear on the right. Move the cursor to the right in this column and select "Standard" from the list, the inscription will be highlighted in blue.
Another column with a list will appear on the right.
Move the cursor to the right in this column and select " Paint", the inscription will be highlighted in blue. Click on this inscription.
Attention!
This tutorial was previously written for previous version Paint program included in the operating system Windows system xp. Currently in operating system Windows 10 includes a new version of the Paint editor. Interface ( appearance) of the editor has changed, the arrangement of panels and some inscriptions have changed. The principle of the program remains the same.
I will show some changes for Windows 10 here in red text, accompanied by new pictures. Read everything else from the previous text.
A window will open, at the top of which there is an inscription "Untitled - Paint". To expand this window to full screen, top line select "View", select "Scale" from the drop-down menu, click "Large". Before us appeared a large white field - a space for work. When zooming in, not the entire field fit on the screen, scrolling engines appeared at the bottom and on the right. By clicking on them with the left button and holding, you can drag the sliders one to the right, the other down to view the entire image. If this seems inconvenient to you, return the previous scale.

A window will open, at the top of which there is an inscription "Untitled - Paint". In order to expand this window to full screen, select "View" in the top line, select "Zoom" in the drop-down menu, click "Zoom".
When zooming in, not the entire field fit on the screen, scrolling engines appeared at the bottom and on the right. By clicking on them with the left button and holding, you can drag the sliders one to the right, the other down to view the entire image. If this seems inconvenient to you, return the previous scale.
Then click "Home".

In the left upper corner you see toolbar, and the color palette at the bottom left. Your cursor in the white field has changed to a pencil, and the pencil button is pressed on the toolbar.
Select any color from the palette with a mouse click and move the cursor over the field. The pencil will draw a line with the selected color.

A palette of colors appeared at the top right, the Tools panel appeared at the top left, the cursor took the form of a cross.
Click in the "Tools" on the pencil.
Select any color from the palette with a mouse click and move the cursor over the field. The pencil will draw a line with the selected color.
Choose a brush instead of a pencil, change the color from the palette.

Select a brush instead of a pencil, change the color from the palette, select the brush size at the bottom of the toolbar (try different ones), move the brush across the field.

Below the pencil, there is a button with a spray icon. Click on it and change the color. Briefly click on the white box, another time click and hold longer.
Depending on the duration, the spray will be less or more filled. The spot size is also selectable at the bottom of the toolbar.

Click on the arrow in the "Brushes" tool, a panel will open with different options, one of them is "Atomizer".
Briefly click on the white box, another time click and hold longer.
Depending on the duration, the spray will be less or more filled.

If you select one of the lines in the Thickness panel, it will determine the size of the spray pattern.
The thickness of the brush is also selected.
On the "Shapes" panel, select the "Line", "Rectangle" buttons, at the bottom of the toolbar, set the line thickness in the "Thickness" panel. To draw a line, place the cursor, click and, without releasing, drag further. To see a larger picture, click on the magnifying glass on the toolbar and click on the image. At the top of the toolbar there is an "Eraser" button, click on it, then drag along the drawn lines to erase them. The size of the eraser can also be selected in the Thickness panel by selecting the line thickness.
To draw a rectangle, place the cursor, click and, without releasing, drag along the diagonal of the rectangle. Using the "Ellipse" button, you can draw both an ellipse and a circle, practice.
There is also a "Rounded Rectangle" button. When you hover over the buttons, read the tooltips. The polygon is drawn like this. Click the "Polygon" button. Place the cursor on the field, click and, without releasing, drag to the next corner of the future polygon, release, click again in the same place and drag to another corner, etc.
The resulting closed polygon (any closed contour) can be filled inside with color. Click in the toolbar on a jar of "Fill" paint, after selecting a color, and click inside the outline.
There is also a curve button. Select it. Place the cursor, click and, without releasing, drag, for example, from top to bottom vertically, release, you get a vertical straight line. Move the cursor to the line, for example, in the middle, click and, without releasing, drag, for example, to the left. Let go, you get a concave blue line.

It's time to save our experimental drawing. Click "File, Save As", double click open the "My Documents" folder, it has a "My Pictures" folder, open it.
Place the cursor in the line "File name" and enter a name, for example, "figure_1", do not put quotes, do not make a space, put an underscore instead of a space (at the top of the keyboard while pressing the left hand Shift keys) or dash.
Click Save. The file name "picture_1.bmp" will appear above the white working field, the computer added a dot and the extension "bmp", which is used for this picture file in this graphic editor.
In order to view the drawing enlarged, click on the magnifying glass on the toolbar and at the bottom of the panel click on the desired magnification scale. At the top of the toolbar there is an "Eraser" button, click on it, then drag along the drawn lines to erase them. The size of the eraser can also be selected at the bottom of the panel. After you erased something, click on the top line "Edit, Cancel", everything will appear again. In this way the program allows you to cancel three recent actions .
You can delete everything drawn in another way. Click "Edit, Select All", then click "Del" key on the keyboard. Give it a try, then redo the drawing using the Edit, Undo method. Click "Edit, Select All" again, the cursor looks like a cross. Put a cross on the picture, click left button mouse and, without releasing, drag the entire picture to a free field. To remove the selection (dotted line around the picture), click on the free field outside the dotted line.

After you have erased something, click the "Cancel" arrow in the top line, everything will appear again. Thus, the program allows you to undo the last three actions.

You can delete everything drawn in another way. In the top line, open the "Select" arrow, select "Select All".

You can return the picture using the "Return" arrow

In order to delete one of the shapes, open the "Select" top, select "Rectangular area".
To delete one of the shapes, click on the "Selection" rectangle on the toolbar, place the cursor in the upper left corner above the shape and drag to the lower right corner, release. The figure is highlighted with a dotted line, press the "Del" key. Undo the last two actions: deleting and moving the picture. Save the document: "File, Save".
Now click the "View, View Picture" button. In order to restore the previous state, left-click on the picture field.


It's time to save our experimental drawing. Click "File, Save As". AT old version only had a choice BMP format. AT new version editor Paint, there are other formats for saving, with other extensions. You can use any of them, there are some minor differences for you. Most used jpeg format, providing a small file size.

Not in Windows 10 old folder"My Pictures" so click "Pictures" and create new folder"Drawings", open it by double-clicking and save the drawing.
If you have artistic abilities and skills, you can draw a portrait of yourself, or an animal, or a flower, and then use it as an avatar, for example, in a real-time chat program. To create your own avatar (in the absence of a photo in the computer), you can draw some kind of geometric pattern or symbol.

Select your pattern with a rectangular selection, click "Edit, Copy to File", your "My Pictures" folder will open, give a name to the file, for example "avatar_1", click "Save".
The system will add a dot and the letters "bmp " to the name. You already know that these letters are called an extension and serve to make the computer understand which program to open given file. The "bmp" extension corresponds to the Paint editor.
The file "avatar_1.bmp" is in the folder. To see how it turned out, click "File, Open", click on the avatar image, then "Open". How to insert an avatar read in lesson number 10.

Select your pattern with a rectangular selection, click on the "Crop" button at the top, then: File, Save As, Image to JPG format, your "Pictures" folder will open, give a name to the file, for example "avatar_1", click "Save". The system will add a dot and the letters "jpg" to the name.
If you want to draw a picture or draw a sketch of the layout of your garden plot, but in the process of working you are afraid of spoiling everything already drawn, I recommend that you save intermediate work options under different names from time to time, for example, "plan_1, plan_2, plan_3" etc. The final result of the site plan can be called "plan_done", and after review, when you are sure that the sketch is finished and correct, delete all intermediate options.
To delete an unnecessary intermediate file, enter the "My Documents, My Pictures" folder, select the file, click on it, then press the "Del" key.
Computer graphics has recently gained a very wide popularity. Even if you are not going to make money on it, many people just want to learn how to draw on a computer. It's one thing to draw on paper, and quite another to draw on a computer. This process has a number of undeniable advantages, but do not forget about the difficulties.
Most artists use special graphic tablets connected to a computer for this purpose. Drawing on such a device is very simple, almost the same as on a sheet of paper. Many beginners and just amateurs are scared away by the high cost, so they want to learn how to draw with a mouse.
How to do it right? What is needed for this? What features can be encountered? You will receive answers to these questions by reading the prepared material.
Why, at all, draw on a computer? After all, you can safely do with a piece of paper, and then scan the drawing. But computer graphics has a number of undeniable advantages:
- Availability of working tools. All you need is a computer and special program- graphics editor. Here you do not need to take into account the features of paints or pencils, buy them, make sure that they do not end at the wrong time.
- The ability to quickly correct any shortcomings. If you notice some kind of defect on a paper drawing, it is often almost impossible to fix it, so you have to draw everything from the very beginning. In a digital drawing, everything is fixed with just a few mouse clicks.
- non-susceptibility external factors. The digital drawing will not fade in the sun, it will not be spoiled by a child or a pet.
How to prepare for drawing with a mouse
Before you start drawing with a mouse on a computer, you should prepare a little. To do this, you will need to purchase a reliable mouse, a high-quality mousepad and install a graphics editor. Let's look at each of the points in more detail.
- Mouse. It should ideally be large and massive, with very precise cursor positioning. It should react to your every movement instantly. Since drawing is a long process, the mouse should sit comfortably in your hand and not create inconvenience. Naturally, you should not count on the fact that a quality accessory will be cheap. If you want to achieve high results, be prepared to spend more.
- Mat. Many manufacturers have a series of professional mats for graphic designers. The slip coefficient is carefully calculated in them, and the material is used such that over time it does not rub off and looks like new for a long time.
- Graphics editor. There are professional graphic editors for entry level. In addition, there are programs for vector and raster graphics. Some are completely free, while others cost a significant amount. Some are pre-installed with the operating system, while most need to be downloaded and installed. The most famous editors are Microsoft Paint, Adobe Photoshop , Gimp, Paint Tool SAI.

Fundamentals of the basics
As already mentioned, drawing with the mouse has a number of features. Let's highlight some of them.
- It is best to choose the Brush tool to create a drawing. Perhaps someone will say that this is not the best choice, but it is with its help that it is easiest to achieve the desired results. By the way, most editors have the option to adjust the hardness and degree of pressure, as well as transparency. For example, this function can be used without problems in Photoshop and Paint Tool SAI. Thanks to this, it is much more convenient to draw with a mouse than with the same pencil, which produces much harder lines.
- Since, unlike a tablet, there is no way to adjust the pressure of the drawing tool, to soften the edges and outlines of the picture, it is better to use an eraser set to a low opacity level. This will reduce the sharpness of the lines. Most graphics tablets are supported by both Photoshop and AIS.
- Do not try to draw contours with one long line. Use many small clicks to apply short strokes. Also, keep in mind that you will often have to switch between tools and their settings, as well as menu items. In order not to waste time, try to bring this skill to automatism. And if you really need to draw a long straight line, use a special tool, it will greatly facilitate your fate.
- If you have already tried to create drawings on a computer in AIS or another editor, then you probably noticed that drawing lines is very difficult. They are constantly bent, made uneven, and if necessary, to paint on something - it is not at all easy to get to the right place. In such a case, feel free to use the zoom tool. The larger you zoom in, the more accurately you can fit the edges of the pattern. Switch between normal view and magnification to bring the image to perfection.
- Where to start learning? It is clear that complex pictures in AIS will not work for you the first time, you need to fill your hand. First of all, try to draw simple drawings for which it will be sufficient to use ordinary geometric shapes. For example, draw a Christmas tree or a snowman. Having coped with the symmetrical arrangement of elements and contours, proceed to fill with color. It is better not to use the fill tool for this, but to paint over with a brush manually. Then you can make the final touches, also add shadows and all sorts of little things. There are many tutorials on YouTube for beginners.
- You will experience much less difficulties if you first sketch out your drawing at least roughly on a regular sheet of paper. In addition, the experience of ordinary drawing will also come in handy.
In order not to go beyond the boundaries of the picture when painting, select the area in which you want to change the color, and then start painting. - If nothing happens manually at all, there is an alternative, and quite convenient. Draw the outlines on paper, then scan the picture or take a high-quality photo and open finished file in the graphic editor AIS or Photoshop. Then move the lines, change their thickness and add colors. By the way, in many editors, such as Photoshop or Paint Tool SAI, you can make good drawings in this way, since all changes are applied in the form of layers that can then be easily deleted.
How to draw in different graphic editors
photoshop
- To create a drawing in Photoshop, download and install the program if it is not already on your computer. We encourage you to purchase a licensed copy, but if the high cost puts you off, look online for hacked versions. Just keep in mind that if the repack is of poor quality, the program will malfunction, and some functions may be missing.
- After running the program, create new file. This can be done either through the menu File - New, or by pressing the combination Ctrl keys+ N. In a pop-up window you will be asked to select the size and resolution of the picture. The higher it is, the longer and more difficult it will be to create a drawing in Photoshop.
- Look at working area: On the right side, you will see several toolbars where you can select a color, background, and work with layers. On the left side you will see a menu for selecting working tools. In the upper part, under the program menu, you can use some options of the selected tool.
- On the right side of the screen, click the "Create Layer" button, on the left side select the brush or pencil tool, and at the top select the type and thickness of the line.
- Create a picture in Photoshop, then save it to a folder on your computer's hard drive.

Paint Tool SAI
- Download and install Paint program Tool S.A.I. The program is paid, so either buy it or download the hacked version if you can't pay.
- Launch Paint Tool SAI and create a new drawing. This function is no different from other image editors, so you can either press File - New or press Ctrl + N on your keyboard.
- Paint Tool SAI will ask for the desired image size and file format. Depending on your desires and needs, select the necessary options.
- Create a new layer on the panel Paint tools Tool SAI on the left side of the screen, then select essential tool to draw and start the process.
- Save the image to a directory on your hard drive.
Paint
Working with this editor is the easiest, however, it has a minimal set of functions. The program has undeniable advantage- you don't have to worry about searching and installing working version, since the editor is standard and built into the system by default. How to draw in Paint?
- Find the program in the Start menu on a Windows computer.
- When the working window opens, you will see a small white rectangle, and special markers on the side and in the corner.
- Drag these handles to resize the image. Actual size will be displayed at the bottom of the screen.
- Select right tool for drawing, such as a brush or pencil, in the top menu bar on the Home tab.
- Save the file after you've finished making changes.

Conclusion
Drawing with a mouse on a computer can be quite difficult at first, but with practice, you will get carried away with this process and be able to create real masterpieces in Photoshop or AIS. Let us know in the comments what program you are using.